
If you’ve ever felt uncomfortably hot in summer or surprisingly cold in winter despite your HVAC system working overtime, your attic insulation might be the culprit. Poor attic insulation forces your heating and cooling systems to work harder, resulting in higher energy bills and less comfort in your home.
Many homeowners overlook their attic insulation until it becomes a problem. This guide breaks down everything you need to know about attic insulation—from types and benefits to installation tips and energy savings.
Why Your Attic Insulation Matters
Your attic works as a barrier between your living space and the outside elements. In summer, heat builds up in your attic and can reach 150°F or more. Without proper insulation, this heat transfers into your home. In winter, heat from your home escapes through the attic if insulation is lacking.
Heat naturally moves from warmer to cooler areas. Insulation slows this process, keeping your home comfortable and your energy bills in check.
Signs Your Attic Needs New Insulation
Not sure if your attic insulation needs attention? Here are clear signs to watch for:
- Uneven temperatures between rooms or floors
- Higher than normal energy bills
- Ice dams forming on your roof in winter
- Attic insulation is less than 10 inches thick
- Visible damage from pests, water, or mold
- Drafty rooms despite closed windows and doors
- HVAC system runs constantly but doesn’t maintain comfort
If you notice any of these signs, it’s time to check your attic insulation.
Types of Attic Insulation Materials
Different insulation materials offer varying benefits in terms of cost, performance, and installation ease. Let’s explore the most common options:
1. Fiberglass Insulation
What it is: Tiny glass fibers woven into a fluffy material.
Forms available:
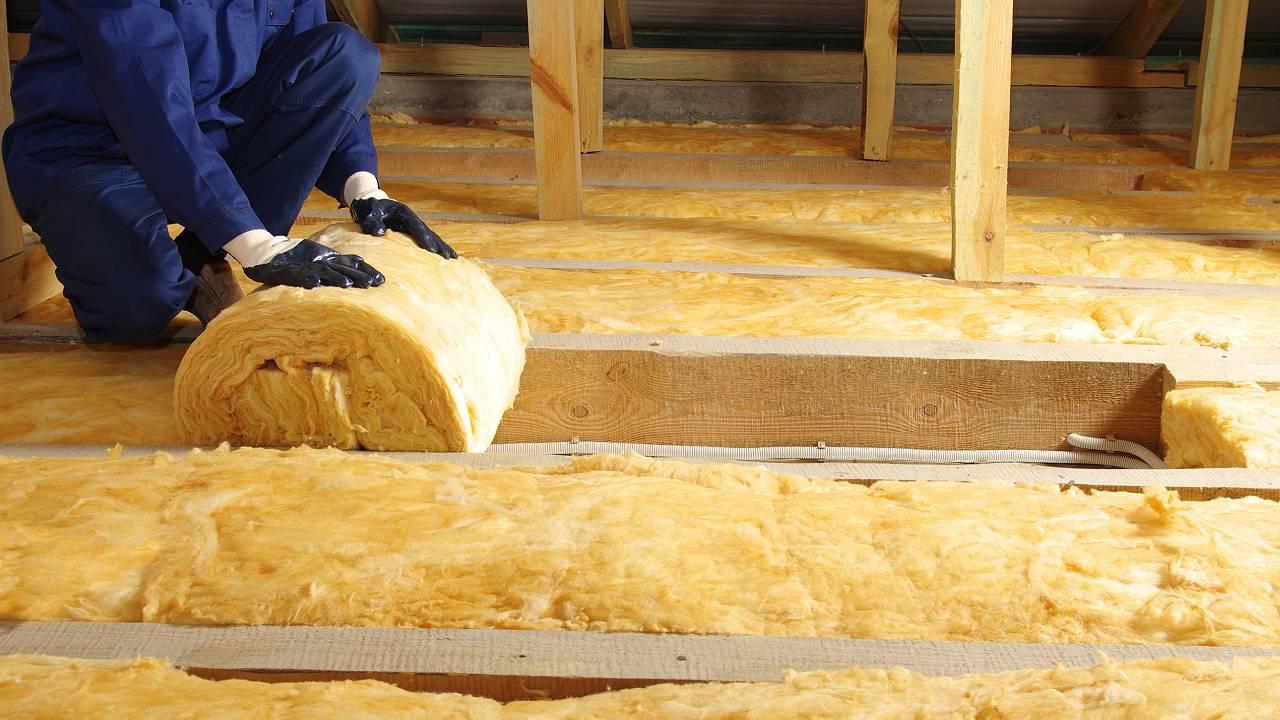
- Batts and rolls: Pre-cut sections that fit between attic joists and rafters
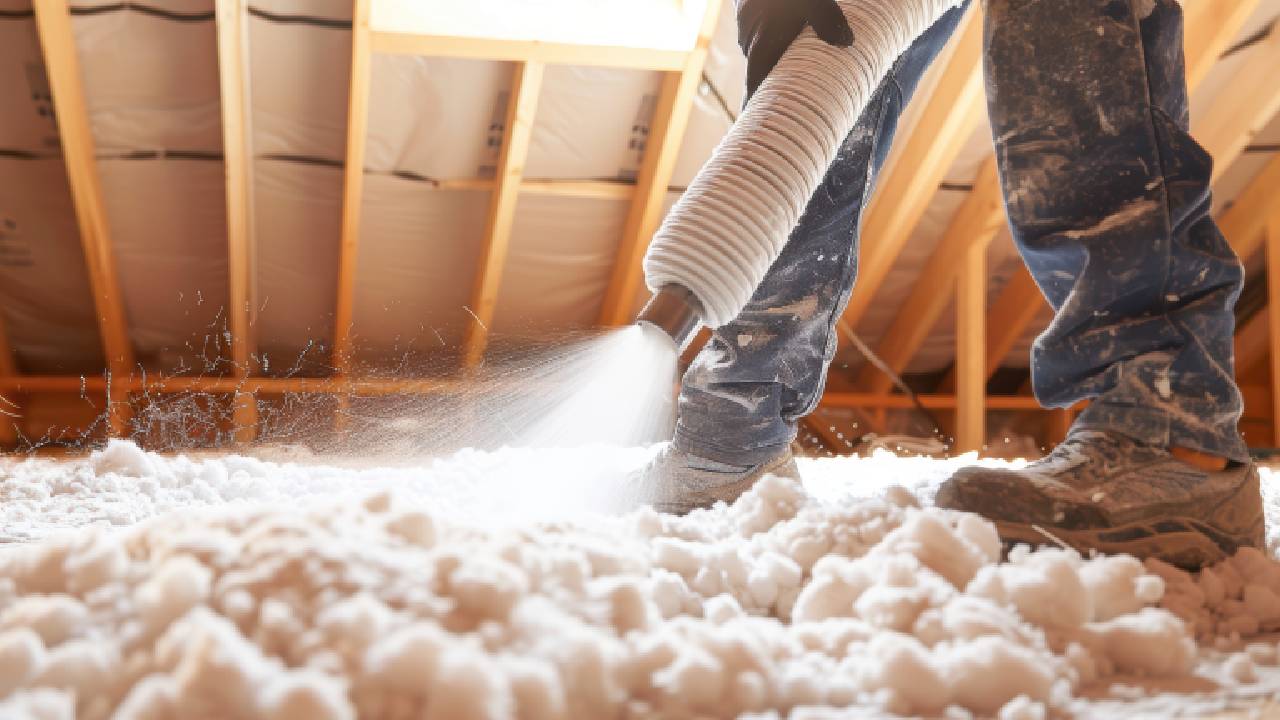
- Blown-in: Loose fibers blown into place with special equipment
Pros:
- Affordable and widely available
- Fire-resistant and non-corrosive
- Doesn’t support mold or mildew growth
Cons:
- It can lose effectiveness if it gets wet
- Lower R-value per inch than some alternatives
- Requires protective gear during installation
- Can settle over time, reducing effectiveness
Average R-value: 2.2-4.3 per inch
2. Cellulose Insulation
What it is: Made primarily from recycled paper (mostly newspaper) treated with fire-retardant chemicals.
Forms available:
- Loose fill: Blown into attic spaces
Pros:
- Eco-friendly (contains up to 85% recycled material)
- Better at filling small spaces than fiberglass
- Higher R-value than fiberglass
- Good sound insulation properties
Cons:
- Can absorb moisture if not properly installed
- May settle over time
- Heavier than fiberglass, putting more weight on the ceiling structures
Average R-value: 3.2-3.8 per inch
3. Spray Foam Insulation
What it is: Liquid polyurethane that expands and hardens into a solid foam.
Types:
- Open-cell: Lighter, more flexible, lower R-value
- Closed-cell: Denser, more rigid, higher R-value
Pros:
- Creates an air-tight seal
- Highest R-value per inch
- Won’t sag or settle
- Can last up to 80 years
- Adds structural strength
Cons:
- Most expensive option
- Requires professional installation
- Difficult to remove if needed
Average R-value:
- Open-cell: 3.5-3.7 per inch
- Closed-cell: 6.0-7.0 per inch
4. Radiant Barriers and Reflective Insulation
What it is: Reflective material (usually aluminum) that reflects radiant heat rather than absorbing it.
Best for: Hot climates where cooling costs exceed heating costs
Pros:
- Excellent for reducing cooling costs in hot climates
- Lightweight and easy to install
- Doesn’t degrade easily
Cons:
- Doesn’t provide any benefit in cold weather
- Works best when combined with other insulation types
- Effectiveness is reduced if dust accumulates on the surface
Average R-value: Not measured in R-value since it works differently than thermal insulation
Understanding R-Value: What It Means For Your Home
R-value measures resistance to heat flow—the higher the R-value, the better the insulation performance. Think of it as the insulation’s ability to keep your home comfortable.
The recommended R-value for your attic depends on your local climate:
- Hot climates (southern Texas): R-30 to R-49
- Mixed climates (central Texas): R-38 to R-60
- Cold climates (northern Texas, during winter): R-49 to R-60
Keep in mind that these values represent the total R-value of all insulation layers combined. You might need to add new insulation over existing material to reach these targets.
Energy Savings: How Much Can You Really Save?
Proper attic insulation can significantly reduce your energy bills. Let’s break down the potential savings:
- Average homes save 15-20% on heating and cooling costs after upgrading attic insulation
- In Texas, this typically translates to $200-$600 annually, depending on your home size and energy usage
- With an average cost of $1,500-$2,000 for professional insulation installation, you can recoup your investment in 3-5 years
Let’s look at a real example:
- Monthly cooling cost before insulation upgrade: $250
- Monthly cooling cost after insulation upgrade: $200
- Monthly savings: $50
- Annual savings: $600
- Cost of insulation upgrade: $1,800
- Payback period: 3 years
Beyond direct energy savings, proper insulation:
- Extends the life of your HVAC system
- Improves indoor air quality
- Increases your home’s resale value
Step-by-Step Guide to Installing Attic Insulation
If you decide to tackle this project yourself, follow these steps:
1. Prepare Your Attic
- Check for leaks in the roof and fix them first
- Seal air gaps around light fixtures, vents, and chimneys
- Install baffles at soffit vents to maintain airflow
- Check wiring for damage and repair if needed
- Make sure you have proper attic ventilation
2. Gather Materials and Safety Equipment
- Insulation material
- Utility knife
- Tape measure
- Walking boards
- Mask, goggles, gloves, and protective clothing
- Bright portable lighting
3. Install the Insulation
For batts or rolls:
- Measure and cut pieces to fit between joists
- Place with vapor barrier facing down (toward the living space)
- Don’t compress insulation, as this reduces its effectiveness
- Leave no gaps between pieces
- Add a second layer perpendicular to the first for a higher R-value
For blown-in insulation:
- Set up the blowing machine according to manufacturer’s instructions
- Feed insulation into the hopper at a steady rate
- Aim for even coverage at the desired depth
- Pay special attention to corners and edges
4. Finish Up
- Check that the depth is consistent throughout the attic
- Ensure no vents are blocked
- Install an attic tent or cover over the access hatch
- Clean up thoroughly – insulation fibers can be irritating
Maintaining Your Attic Insulation
Once installed, attic insulation needs minimal maintenance, but these steps will help ensure maximum effectiveness:
- Inspect annually for signs of moisture, pests, or compression
- Address roof leaks immediately to prevent insulation damage
- Check for settling in blown-in insulation and add more if needed
- Keep vents clear to ensure proper airflow
- Watch for pest activity and address it promptly to prevent damage
When to Call the Professionals
While DIY installation is possible, certain situations call for professional help:
- You discover extensive mold or moisture issues
- Your attic has complicated wiring or recessed lighting
- You’re interested in spray foam insulation
- Your attic is difficult to access or navigate
- You find signs of structural damage
- You want the assurance of professional work and warranty
At All Year Heating and Cooling, we provide expert attic insulation services tailored to your home’s specific needs. Our team evaluates your current insulation, recommends the best solutions, and ensures proper installation for maximum energy efficiency.
Final Thoughts
Proper attic insulation is one of the most cost-effective ways to improve your home’s energy efficiency and comfort. Whether you choose to DIY or hire professionals, the important thing is to take action if your insulation is inadequate.
By understanding the different types of insulation, their benefits, and installation methods, you’re well-equipped to make informed decisions about your home’s energy efficiency. The investment in proper attic insulation pays dividends in comfort, energy savings, and home value for years to come.
Ready to upgrade your attic insulation? Contact All Year Heating and Cooling today at (512) 467-2665 or email us at [email protected] for a free consultation. Our team of experts is here to help you create a more comfortable, energy-efficient home.